
How to Master Real Estate Photography Compositions: A Pro's Step-by-Step Guide
Ever wondered what it takes to edit 2,000 real estate photos every month? That's exactly what I did while managing the photography department for a major vacation rental company, and I learned one crucial thing: compositions in photography can make or break a property's appeal.
In fact, well-crafted real estate photography does more than just showcase a space - it helps potential buyers feel like they're actually walking through their future home. However, achieving this isn't as simple as pointing and shooting. From selecting the perfect camera height to mastering the rule of thirds, professional real estate photography requires understanding specific composition techniques that differ from regular photography.
That's why I've created this comprehensive guide to help you master real estate photography compositions. Whether you're shooting luxury properties with drones or capturing cozy apartments with a basic DSLR, these proven strategies will help you create images that truly connect with potential buyers.
Understanding Basic Real Estate Photography Rules
Real estate photography stands distinctly apart from traditional photography, primarily due to its unique purpose and technical requirements. Understanding these fundamental differences forms the cornerstone of capturing compelling property images.
Key differences from regular photography
Real estate photography focuses on documenting spaces rather than creating artistic interpretations. Unlike regular photography where creativity takes center stage, real estate images serve a specific purpose - to give potential buyers a comprehensive understanding of the property's layout and features.
One notable distinction lies in the shooting approach. Real estate photographers typically complete a property shoot within 1-2 hours, focusing on capturing wide angles and comprehensive views. Conversely, architectural photographers might spend several hours or even days perfecting a single shot.
Furthermore, real estate photography demands specific technical considerations:
- Camera positioning must remain level to maintain straight vertical lines
- Wide-angle shots need careful execution to avoid distortion
- Room-specific height adjustments are essential for optimal composition
- Quick turnaround times require efficient workflow management
Why composition matters in property photos
Composition plays a pivotal role in real estate photography, significantly influencing how potential buyers perceive a property. When viewing listings online, buyers make split-second decisions based on visual impressions, making proper composition crucial for capturing their interest.
The rule of thirds emerges as a fundamental principle in real estate photography compositions. By dividing the frame into nine equal sections, photographers can position key elements along these lines or at their intersections to create visually appealing images. Additionally, leading lines guide viewers' eyes through the space, creating a natural flow and sense of depth.
Proper composition techniques serve multiple purposes in real estate photography:
- Space Perception: Strategic composition helps rooms appear more spacious and inviting
- Feature Highlighting: Thoughtful framing draws attention to key selling points
- Layout Communication: Well-composed shots effectively convey spatial relationships between rooms
- Professional Presentation: Balanced compositions reflect positively on the property's value
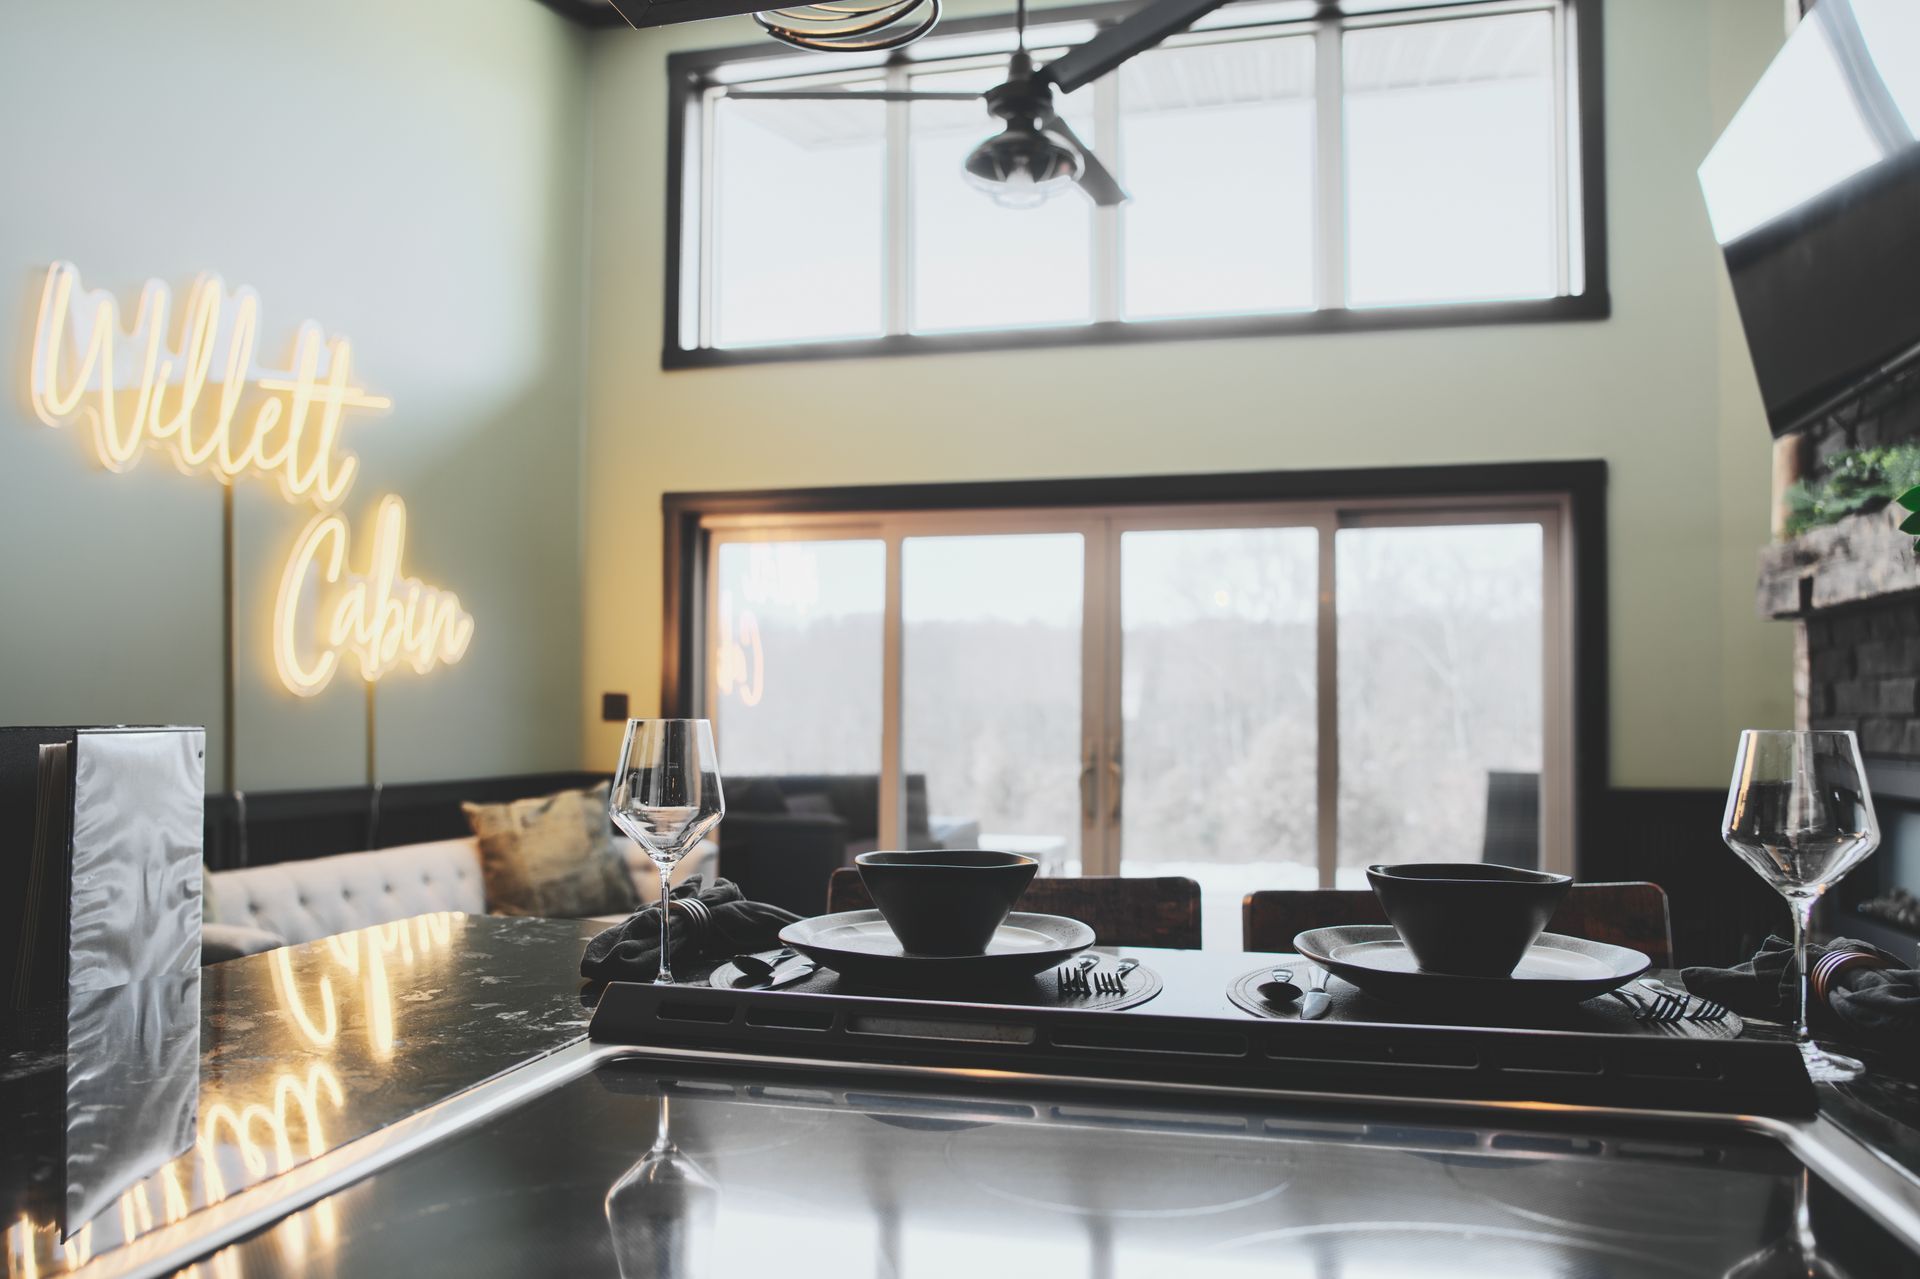
Moreover, composition directly impacts the emotional connection potential buyers form with the property. Through careful framing and perspective choices, photographers can create images that help viewers envision themselves living in the space.
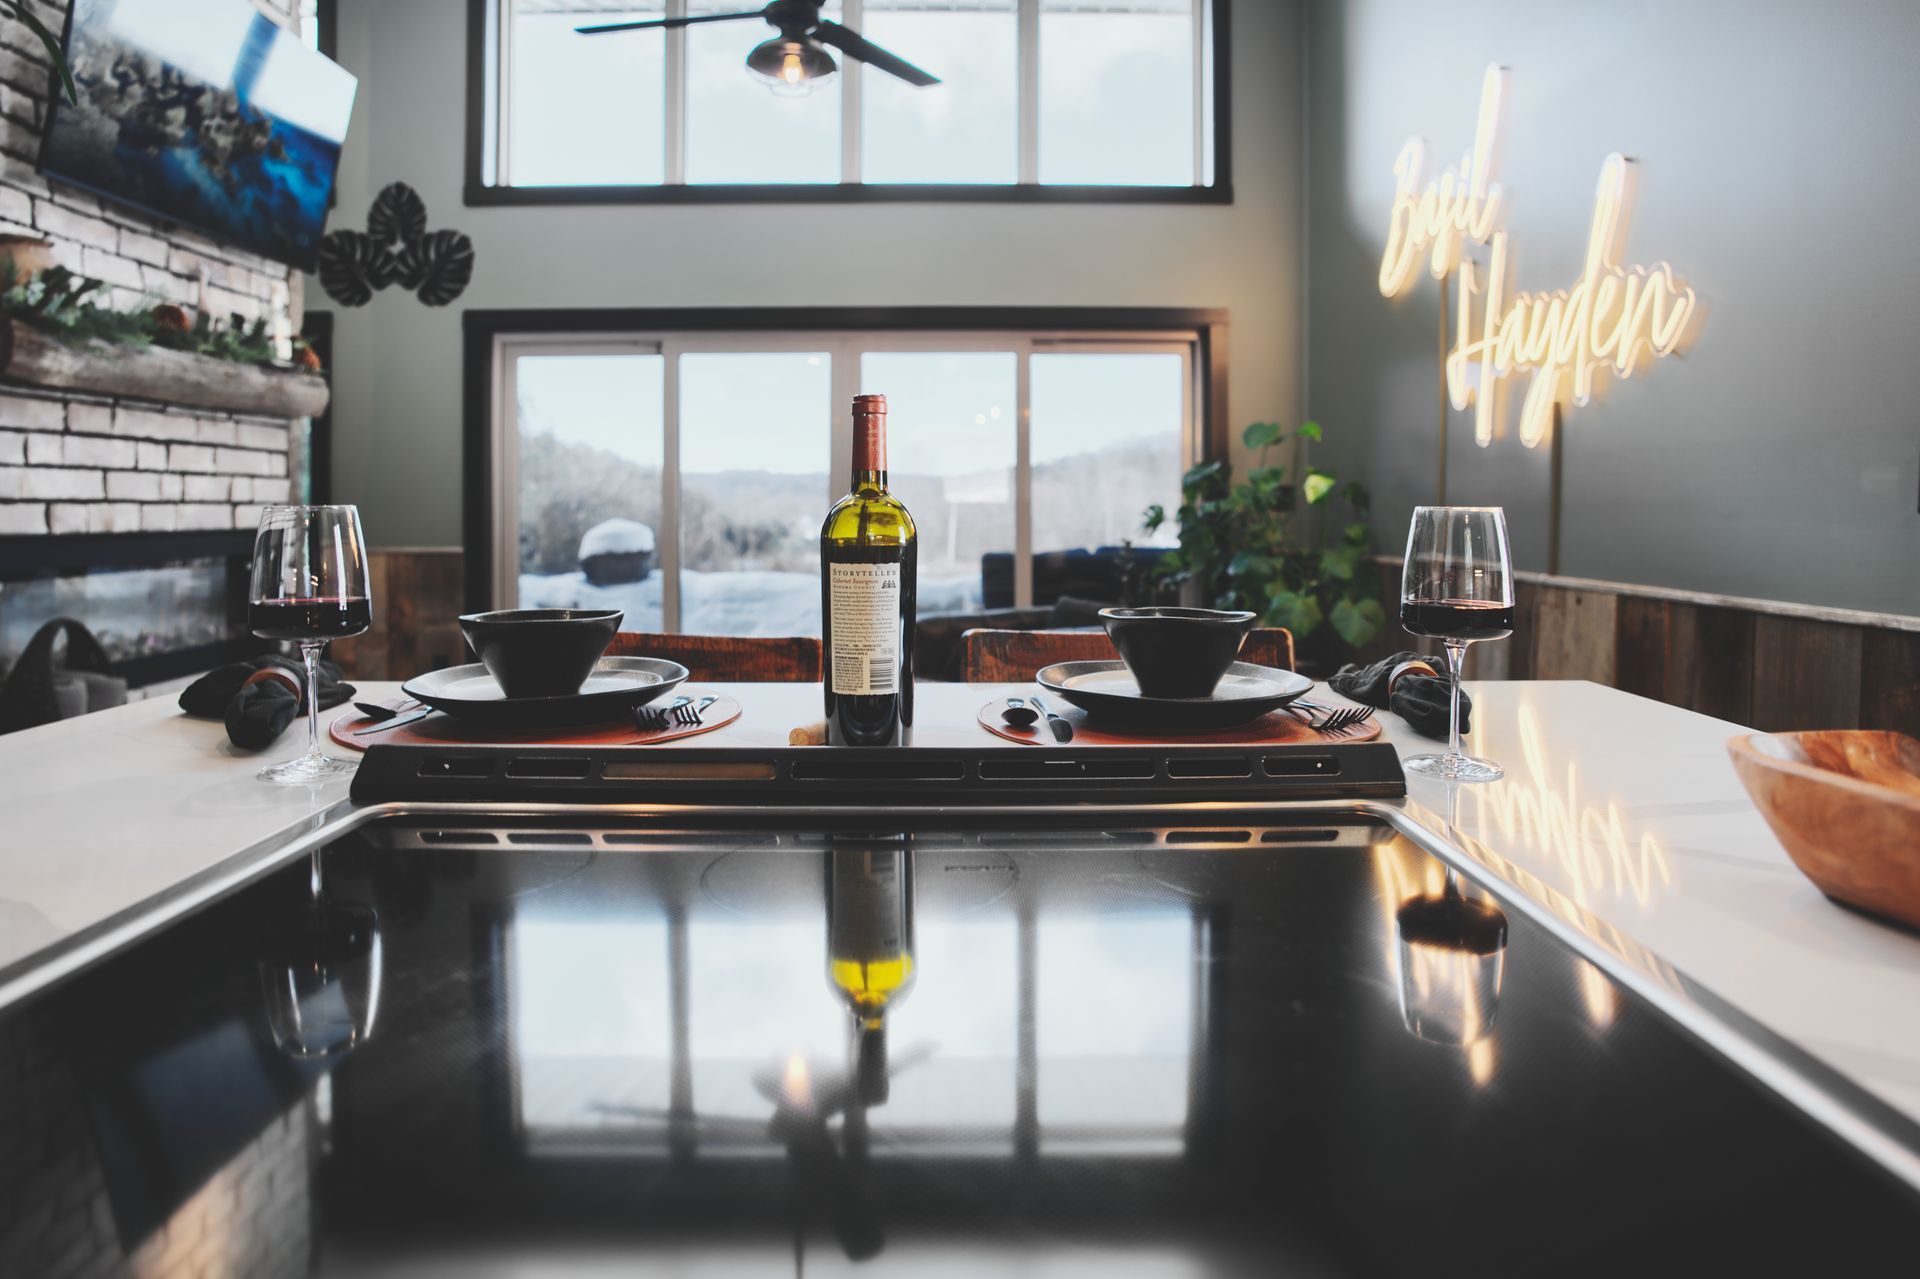
Single-point perspective proves particularly effective for showcasing luxury properties, especially in kitchens, dining rooms, and bathrooms. This technique creates symmetry and emphasizes the grandeur of spaces. Nevertheless, two-point perspective remains more common, offering greater flexibility and forgiveness in alignment.
Understanding these composition rules becomes particularly crucial since real estate photos typically have a shorter lifecycle compared to architectural photography. Therefore, each shot must effectively communicate the property's value and appeal within that limited timeframe.
Setting Up Your Camera for Perfect Compositions
Mastering camera setup forms the foundation of compelling real estate photography compositions. Let's explore the essential technical aspects that contribute to creating professional property images.
Best camera height for different rooms
Setting the optimal camera height varies based on the specific room being photographed. For living rooms and family areas, position your camera between 36-48 inches from the floor. This range accommodates furniture of varying heights and captures the room's spatial dynamics effectively.
In kitchens, elevate the camera 15-20 inches above counter height to showcase countertops and appliances properly. Similarly, when photographing bedrooms, maintain the camera 15-20 inches above bed height to create balanced compositions.
Choosing the right lens focal length
The selection of appropriate focal length dramatically impacts composition quality. Professional real estate photographers typically use focal lengths between 16-35mm on full-frame cameras. This range offers versatility without introducing excessive distortion.
A 24mm focal length emerges as an ideal choice for most interior shots, as it removes issues of spaces looking too wide and prevents objects close to the camera from appearing disproportionately large. Alternatively, utilizing a 16-35mm zoom lens provides flexibility to adjust compositions based on room size and layout.
Camera settings that affect composition
Proper camera settings play a vital role in achieving professional-quality compositions:
Aperture Settings: Maintain an aperture between f/6 and f/11 for optimal sharpness and depth of field. This range ensures everything in the frame remains crisp and clear. If shooting in tight spaces with elements in the immediate foreground, consider adjusting to f/16 for enhanced depth of field.
ISO Configuration: Keep ISO settings between 200-400 to minimize digital noise while maintaining image quality. This range provides sufficient sensitivity without compromising the final output.
Exposure Mode: Use Aperture Priority (AV) mode, allowing the camera to determine the appropriate shutter speed based on your chosen aperture. This approach streamlines the shooting process and ensures consistent exposure across different rooms.
Additional Technical Considerations:
- Enable Auto White Balance for consistent color temperature
- Set the camera to RAW format for maximum post-processing flexibility
- Utilize evaluative metering mode for balanced exposure across the frame
- Implement a self-timer or remote shutter release to eliminate camera shake
By carefully considering these technical aspects, photographers can create compositions that effectively showcase properties while maintaining professional standards. The combination of proper camera height, appropriate focal length, and optimized settings ensures consistently high-quality results across various property types.
Mastering Room-Specific Compositions
Successful real estate photography hinges on understanding room-specific composition techniques that showcase each space's unique features effectively. Let's explore proven strategies for capturing different rooms in their best light.
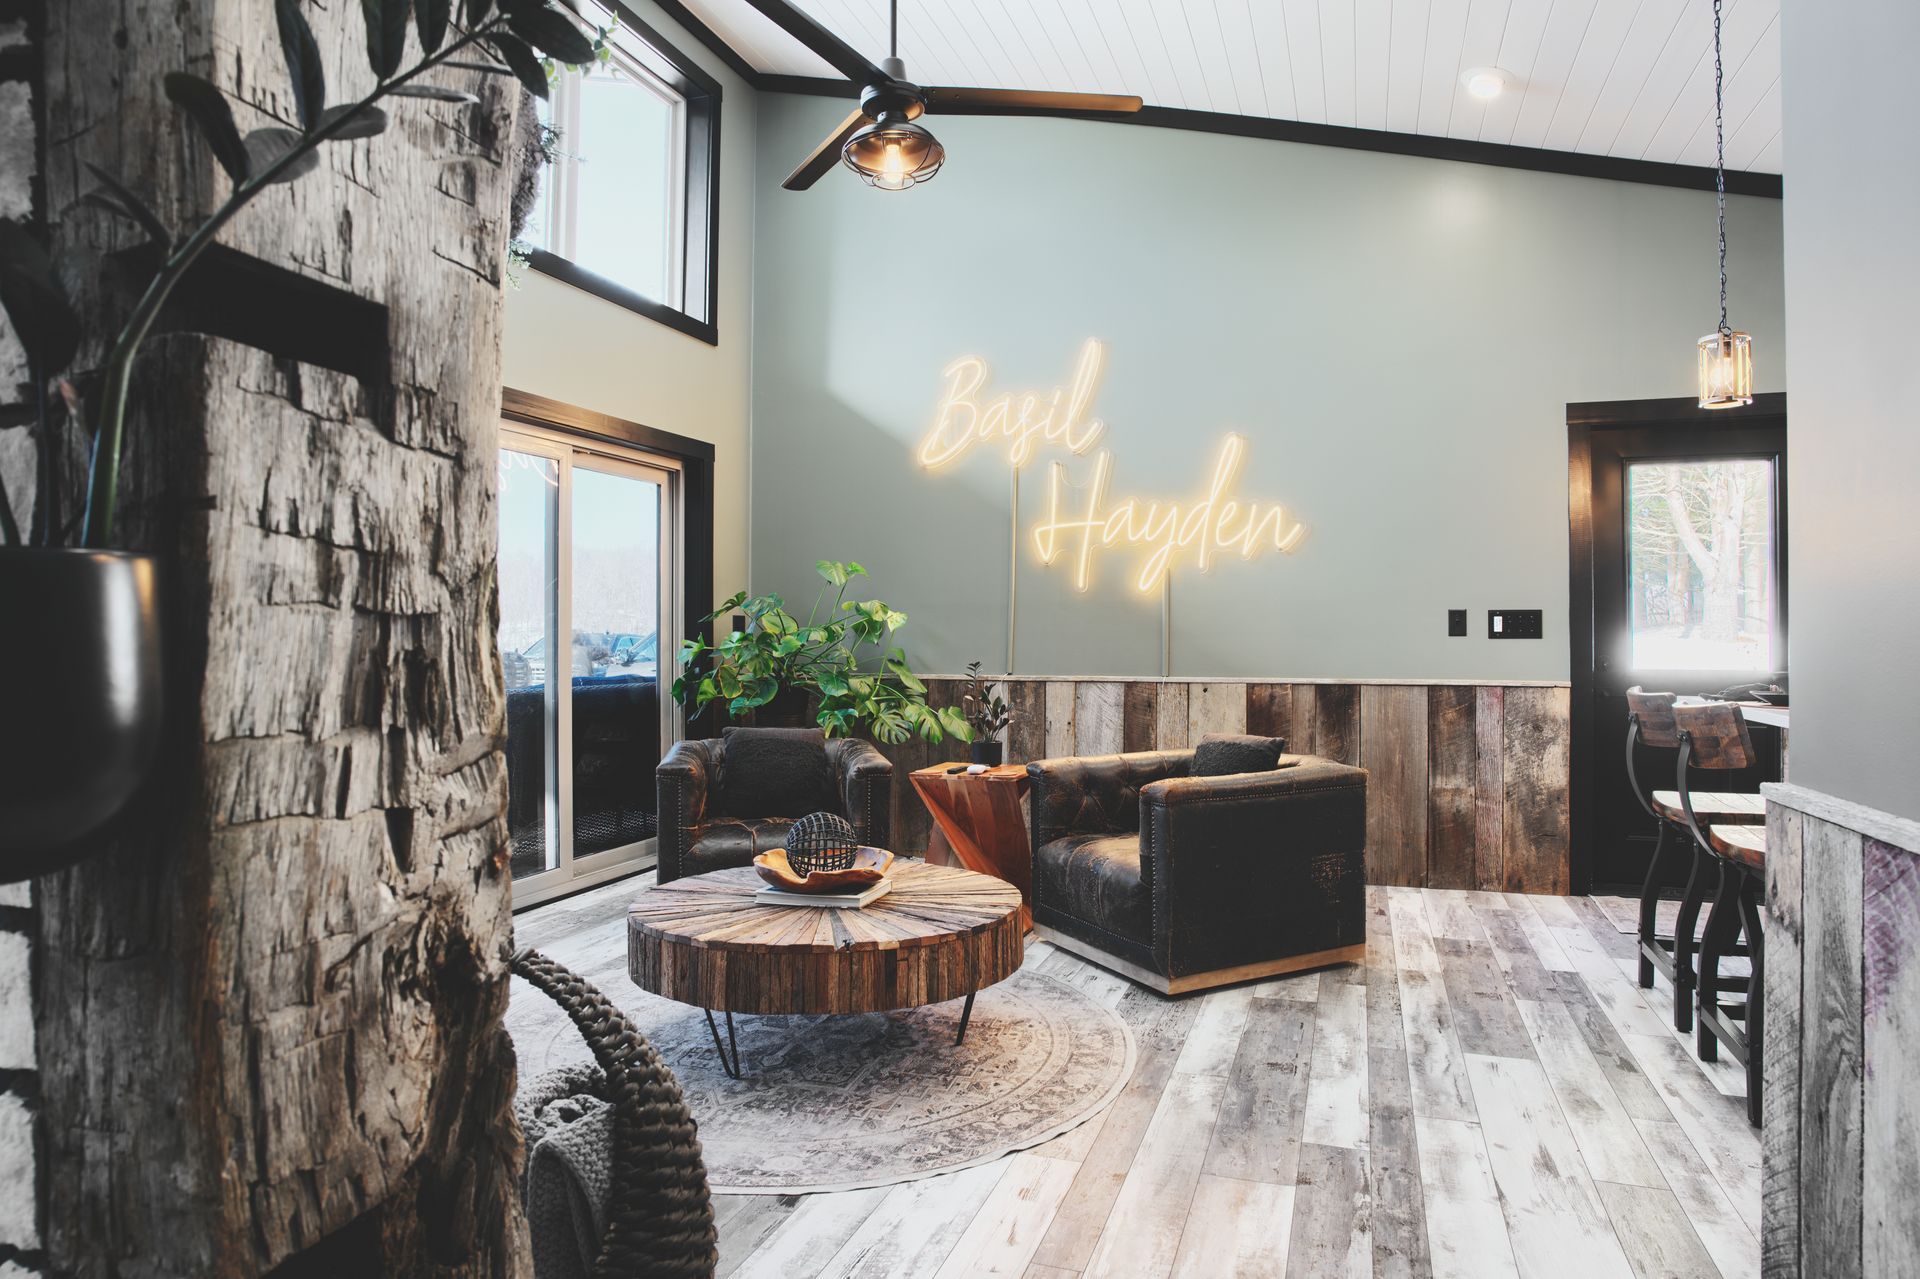
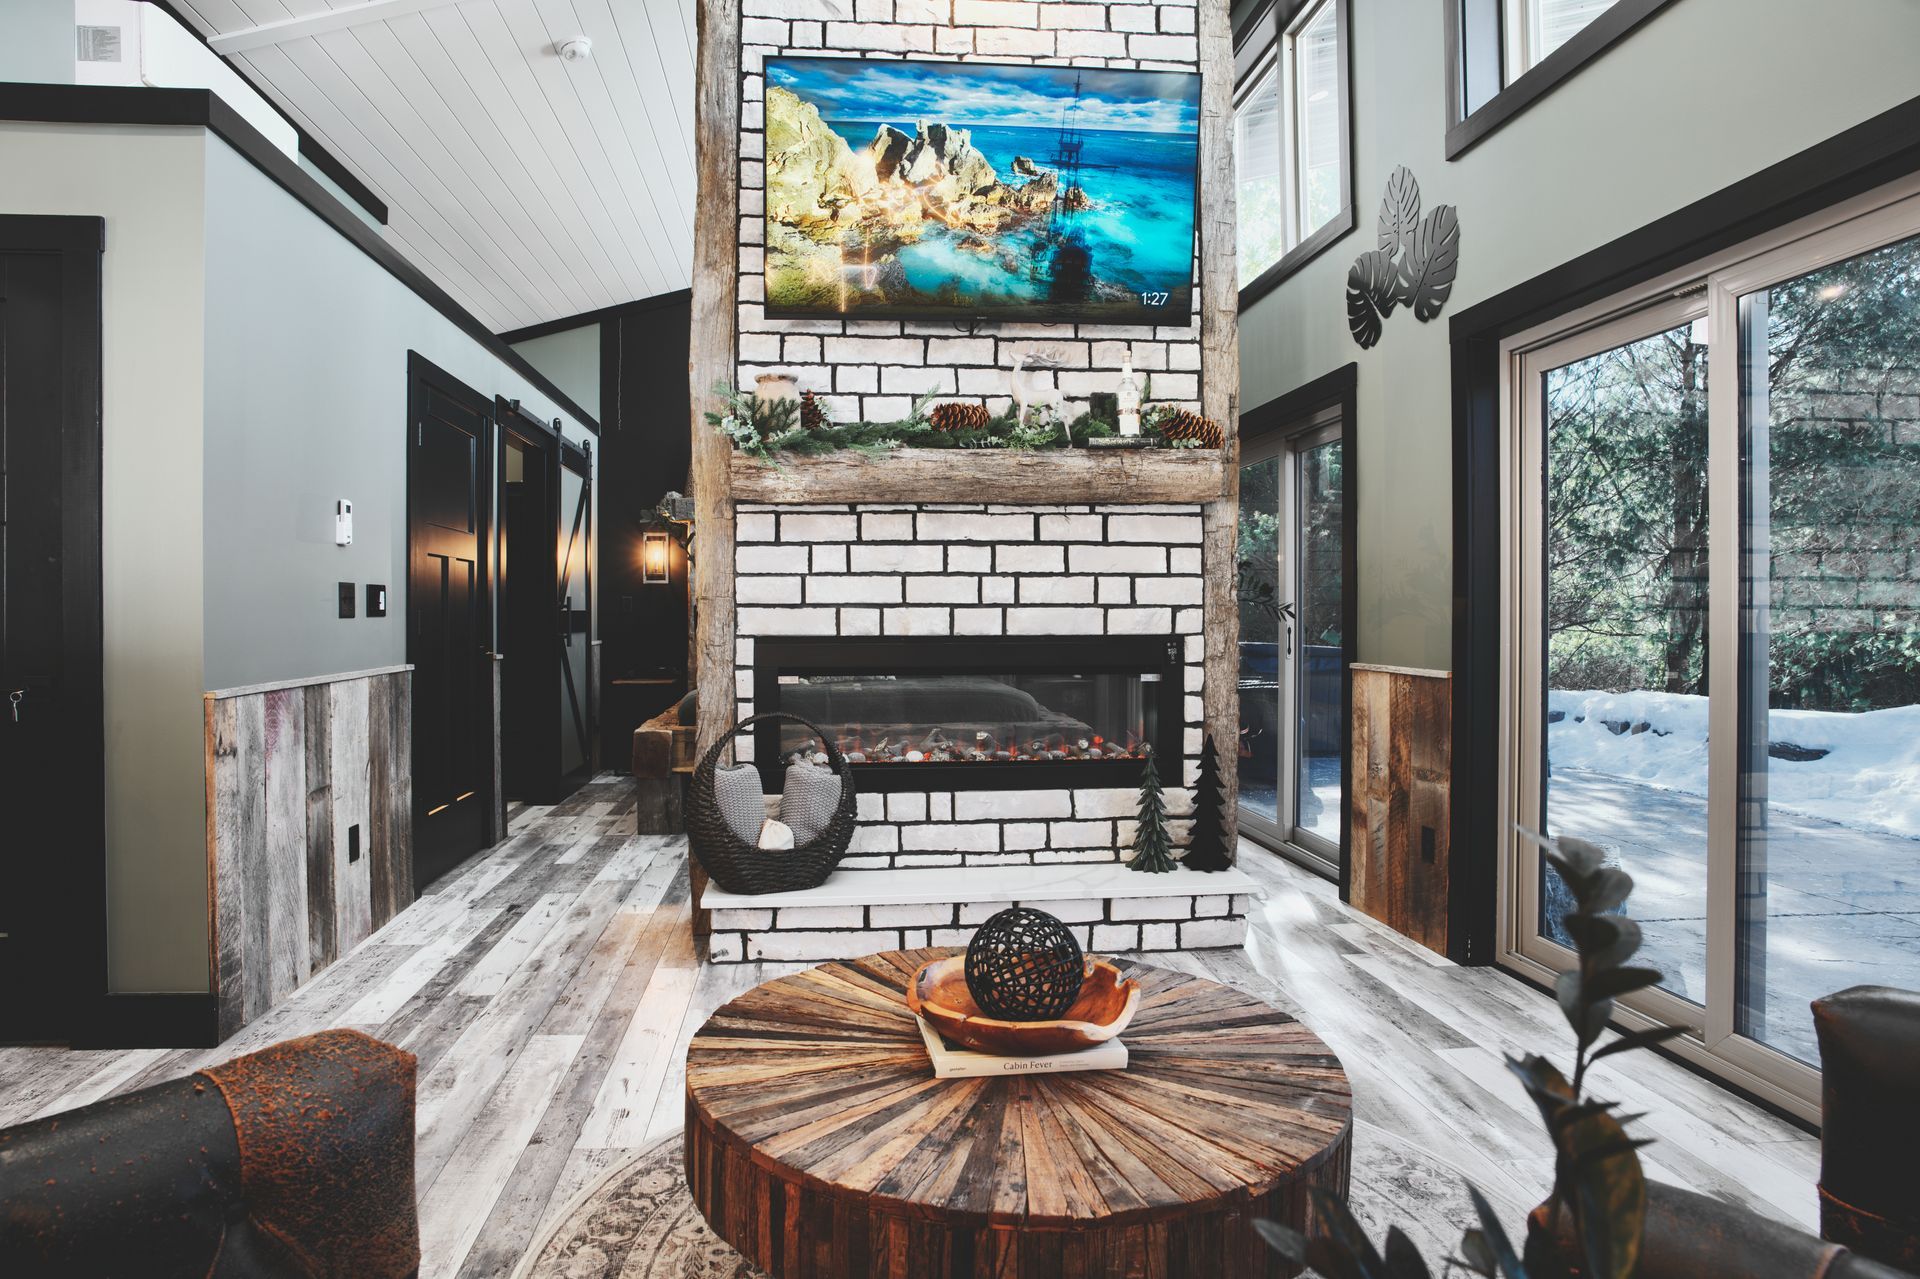
Living room angles that sell
Capturing living rooms requires strategic positioning to convey spaciousness and functionality. Shooting from corners using a two-point perspective creates depth and highlights the room's flow. Nonetheless, when photographing highly symmetrical spaces, a one-point perspective can effectively showcase luxury and orderliness.
For optimal results, position yourself between two walls, ensuring the camera captures the room's best features without creating a tunnel effect. Consequently, backing up and zooming in slightly helps achieve a flatter, more natural-looking image that avoids excessive distortion.
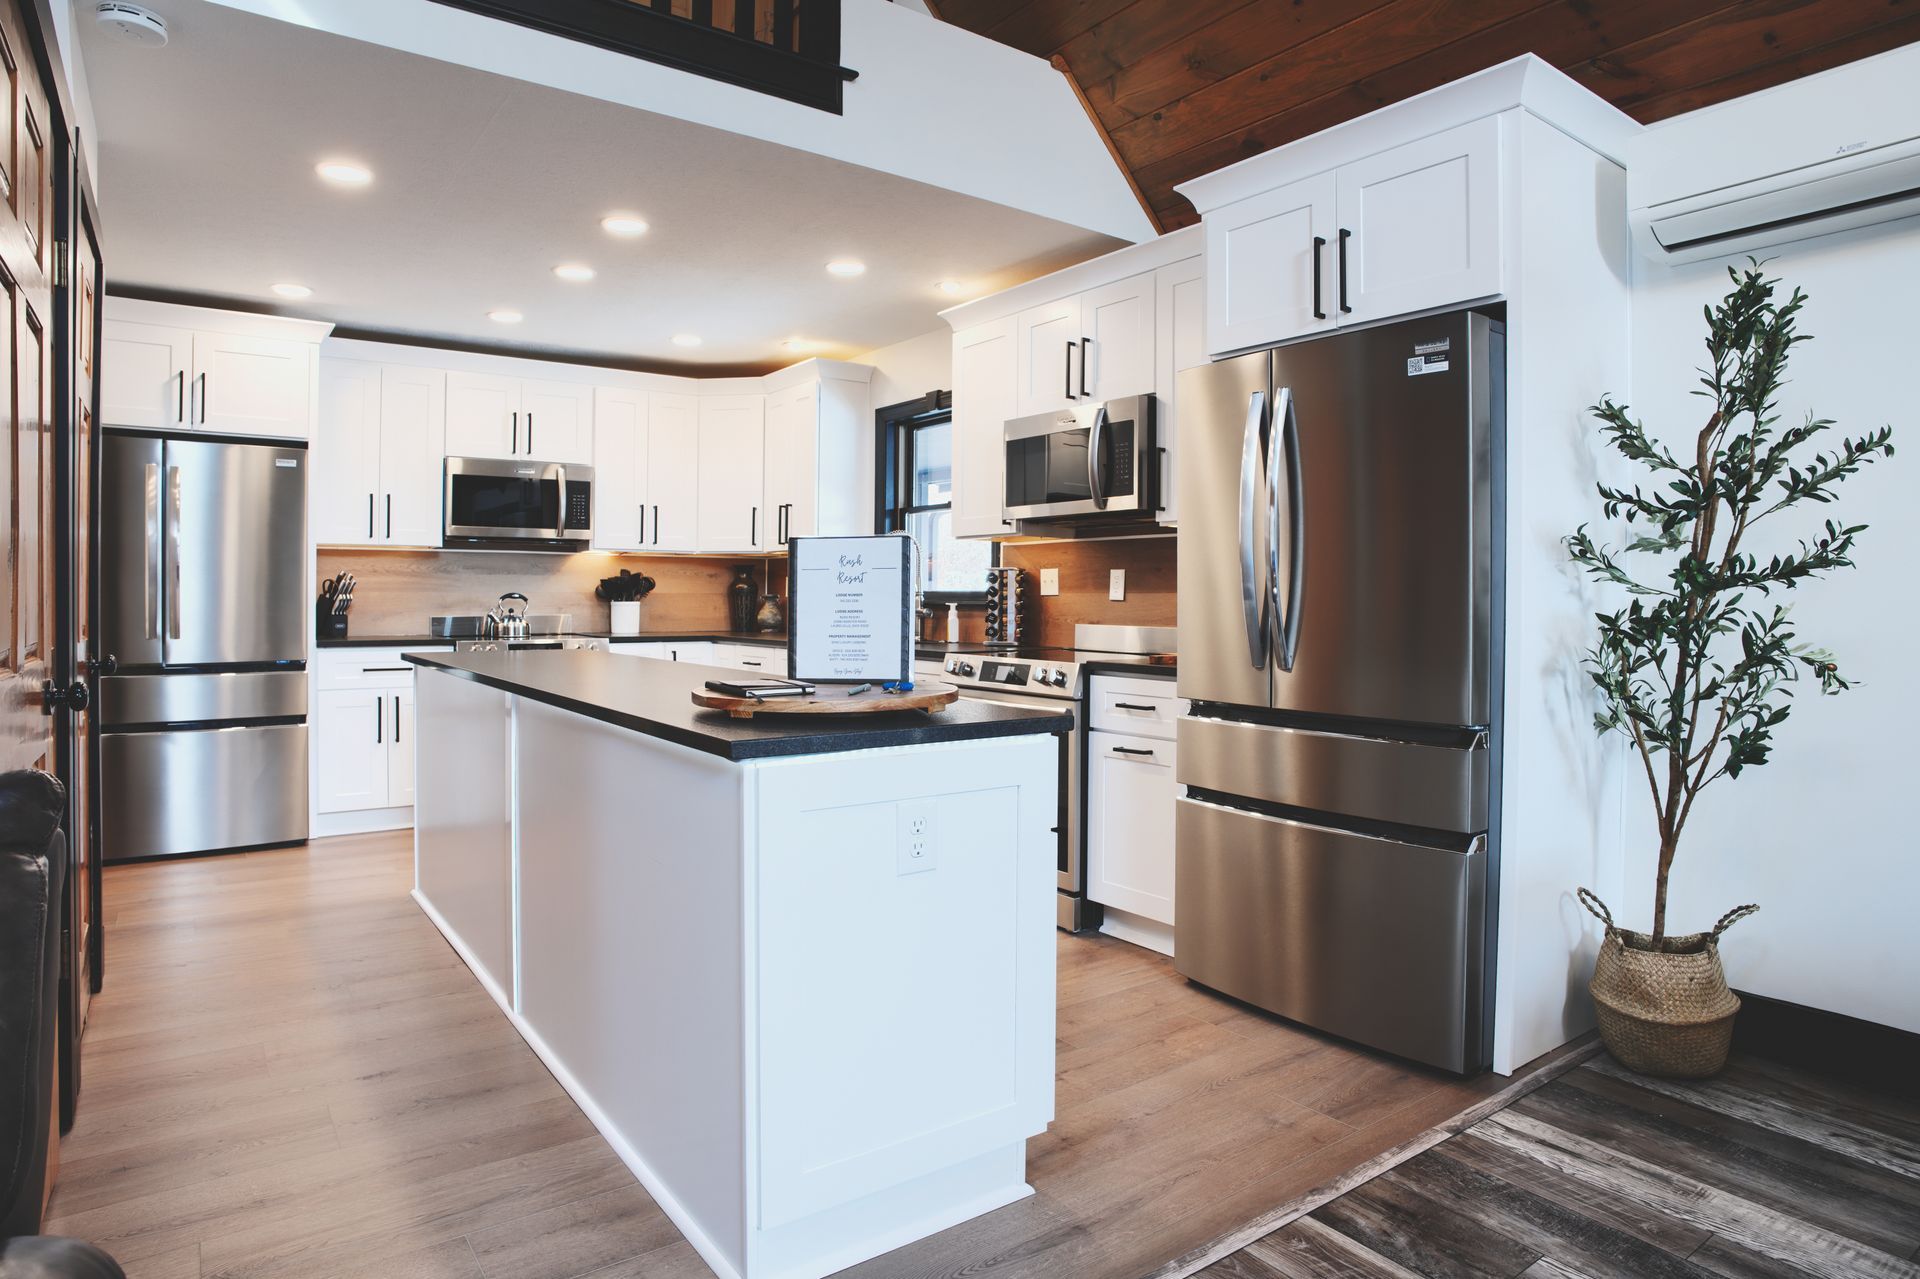
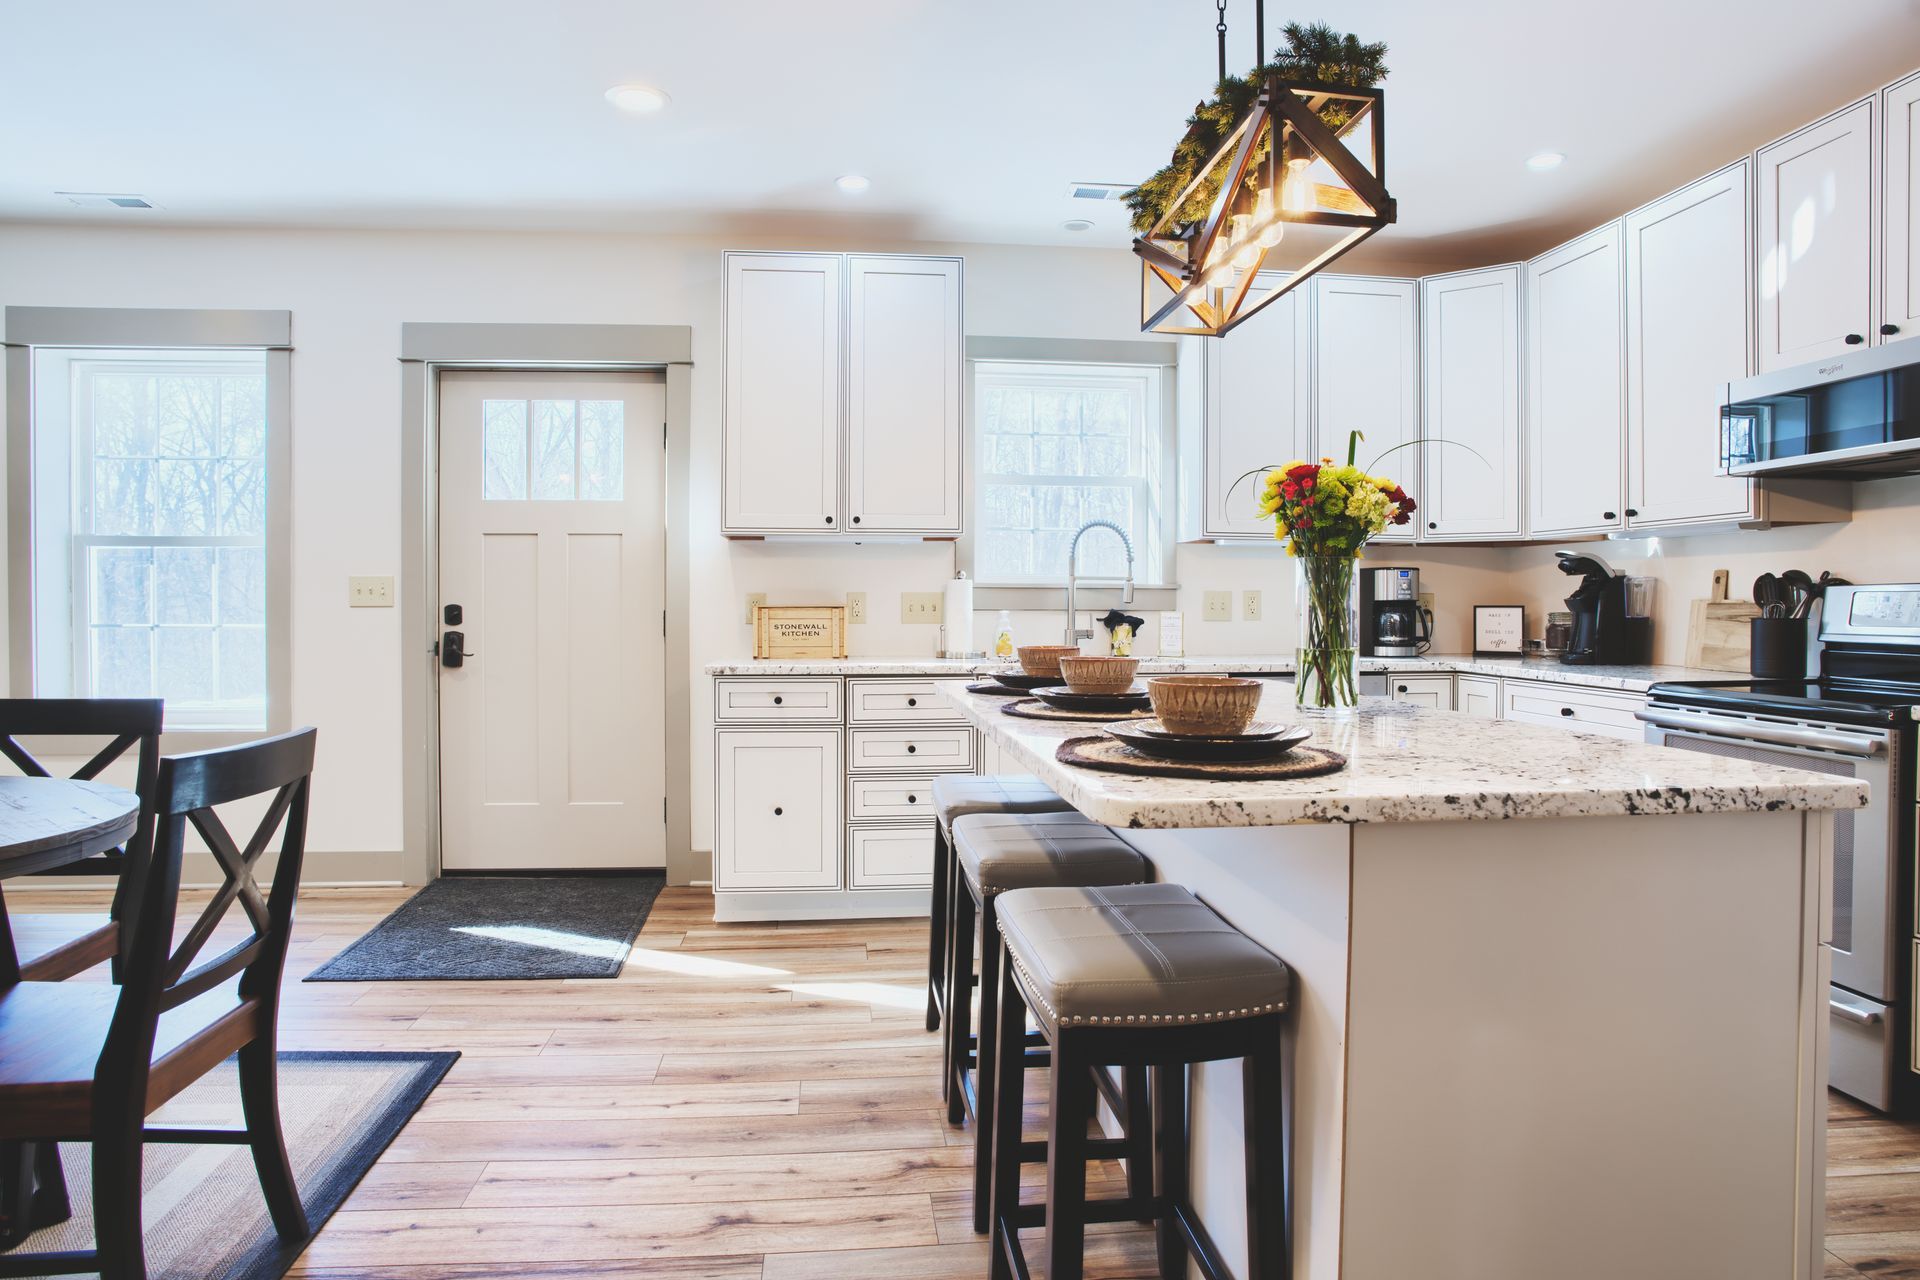
Kitchen composition techniques
Kitchens demand meticulous attention to composition details. The most effective approach involves shooting from outside the kitchen, looking towards the cabinetry and windows. Although two-point perspectives dominate kitchen photography, one-point compositions prove particularly impactful when showcasing:
- Horizontal arrangements of bar stools along countertop islands
- Corridors created by islands and countertops
- Clean lines emphasizing orderly design elements
Undoubtedly, capturing multiple angles provides agents with versatile options. Subsequently, consider photographing from inside the kitchen looking outward to demonstrate the space's connection to adjacent areas.
Bathroom photo strategies
Despite their compact size, bathrooms require thoughtful composition to highlight their appeal. Focus primarily on capturing the sink and mirror rather than the toilet. Accordingly, shoot from doorways or corners to maximize the perceived space while maintaining clean lines.
To enhance bathroom presentations:
- Remove personal items and trash bins
- Ensure surfaces sparkle and reflect light effectively
- Replace dated towels with fresh, coordinating linens
- Install matching light bulbs throughout fixtures
Bedroom photography tips
Bedrooms typically showcase best through two-point perspective shots directed toward windows and beds. Initially, declutter the space and remove personal items to help potential buyers envision themselves in the room. Furthermore, consider these essential elements:
- Refresh bedding to create an inviting focal point
- Replace all light bulbs with matching types
- Remove pet accessories and worn items
- Stage thoughtfully to enhance appeal
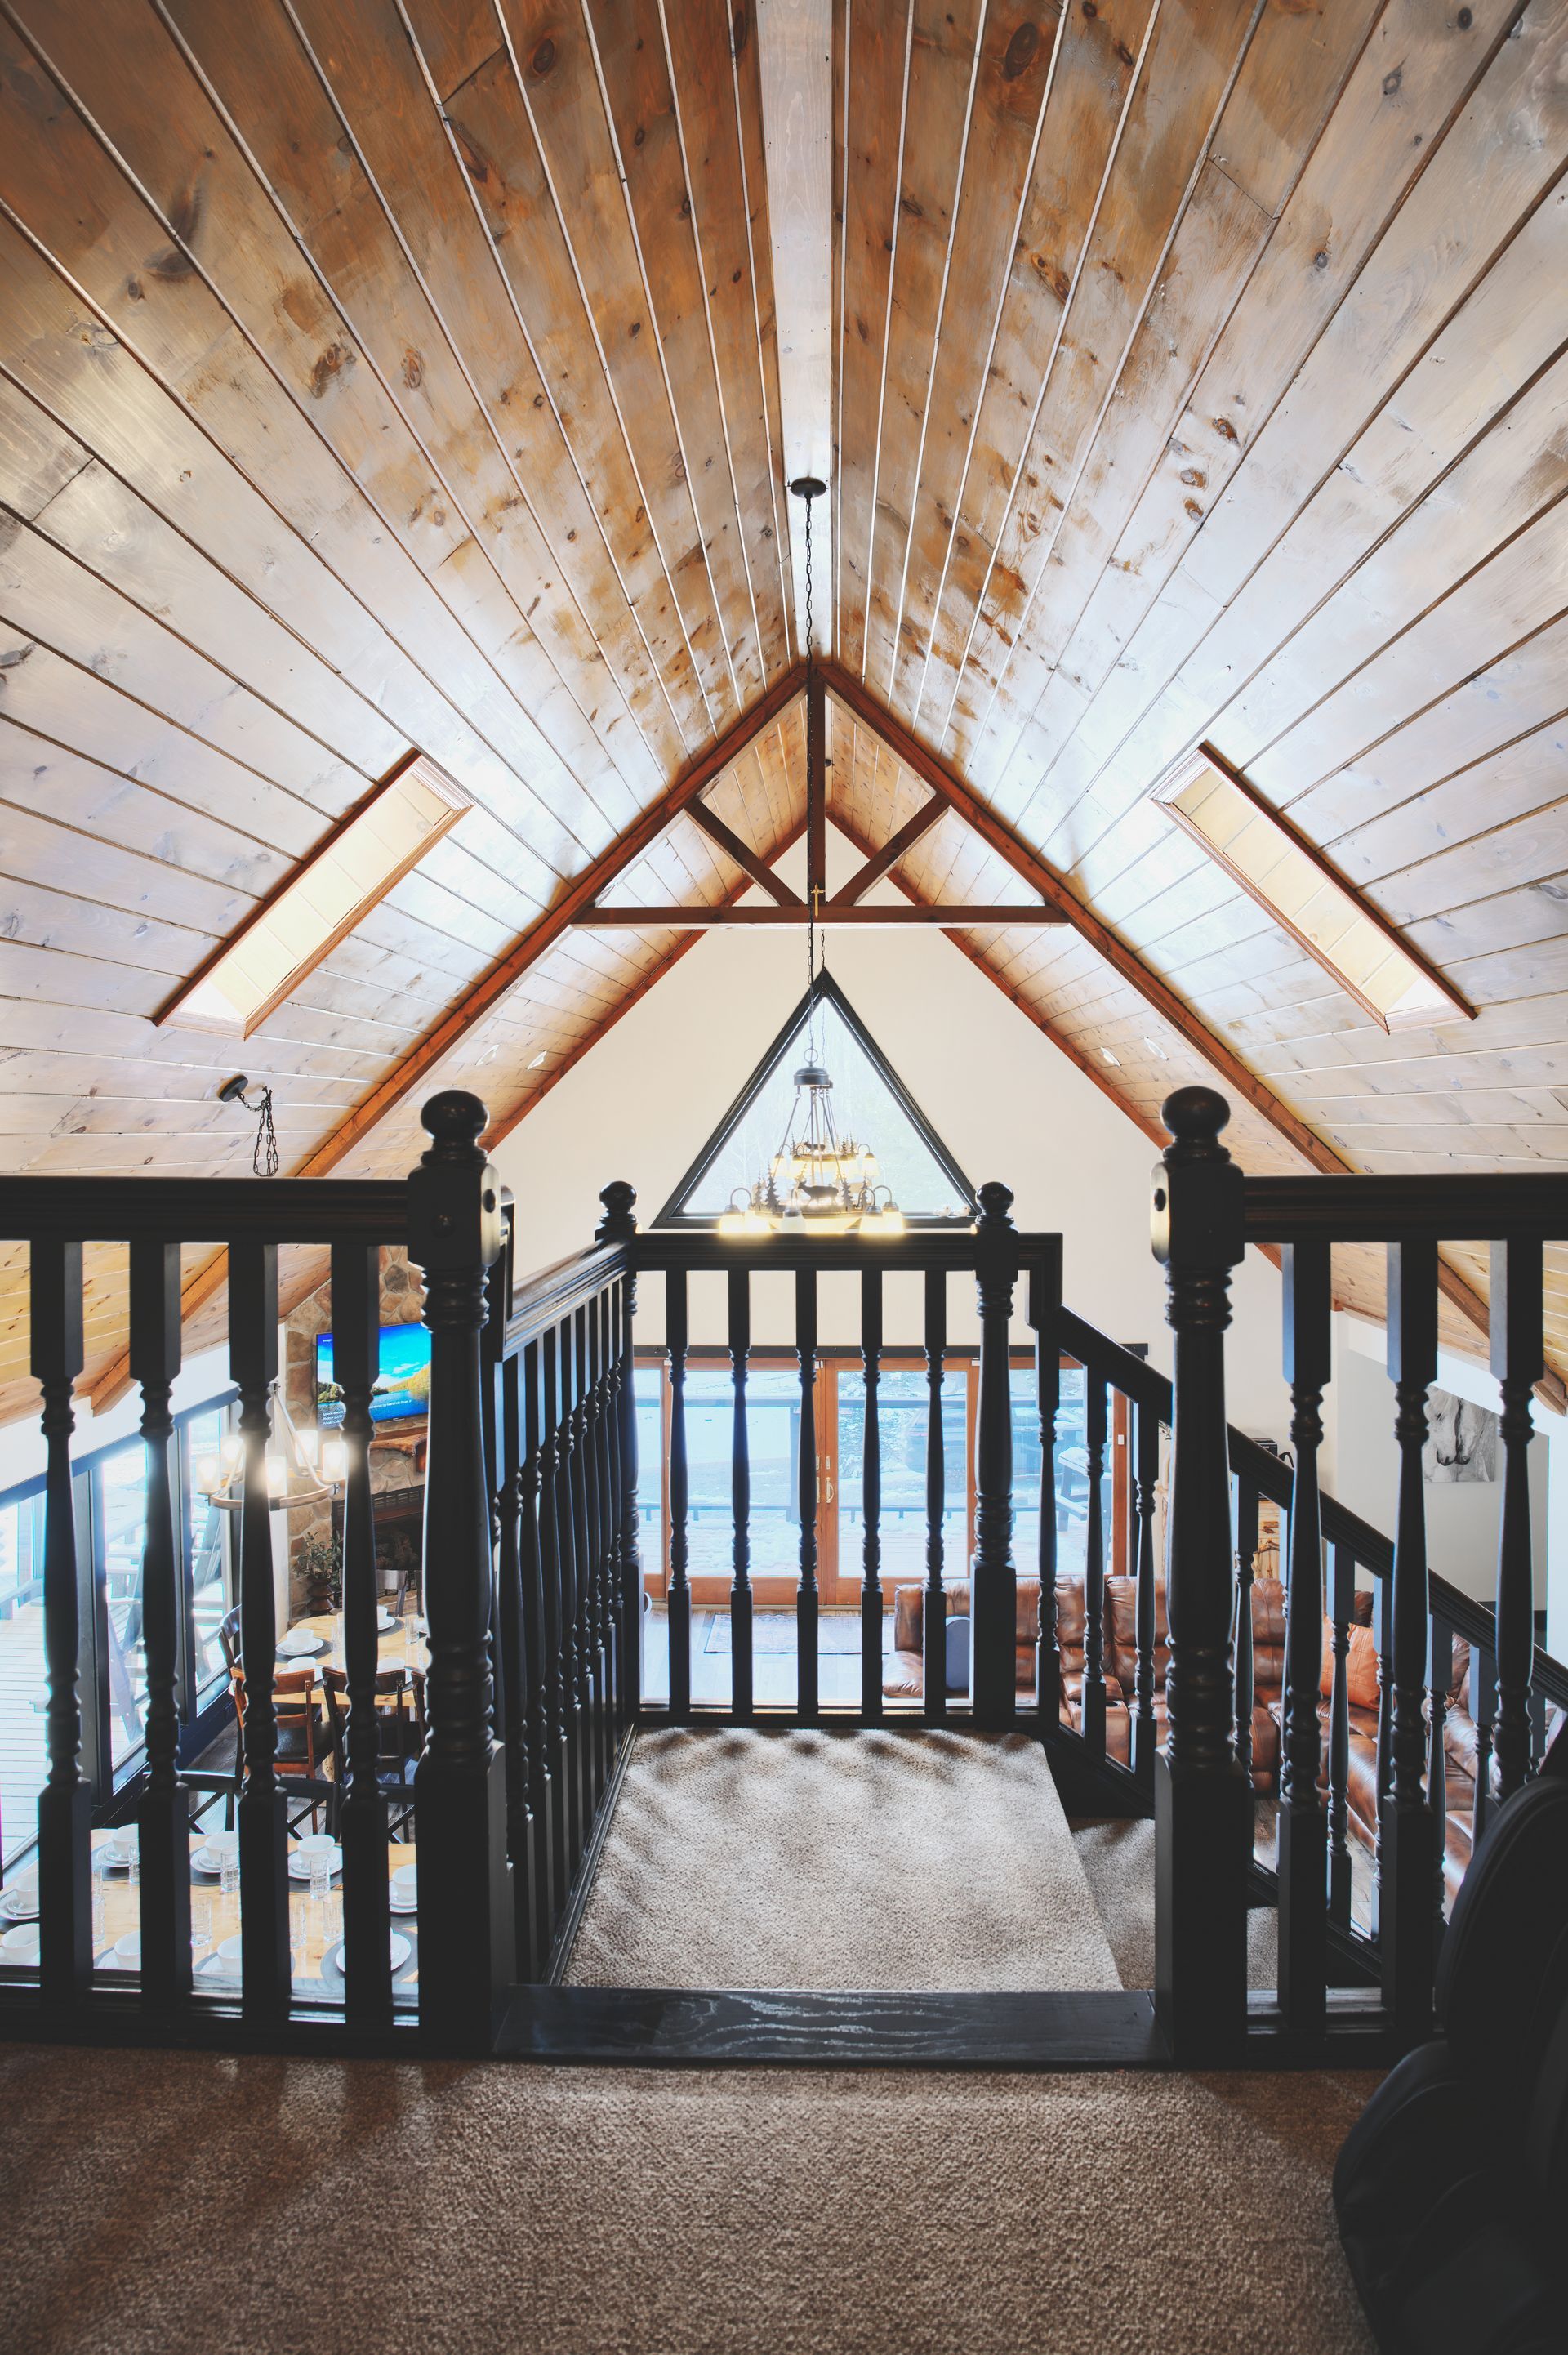
For maximum impact, capture bedrooms from two angles - looking in and looking out - to provide comprehensive views of the space. Above all, maintain camera height at approximately chest level to create natural perspectives that enhance ceiling height perception.
Using Light to Enhance Compositions
Light orchestrates the visual narrative in real estate photography, transforming ordinary spaces into compelling compositions. Understanding how to harness both natural and artificial illumination elevates property presentations from basic documentation to engaging storytelling.
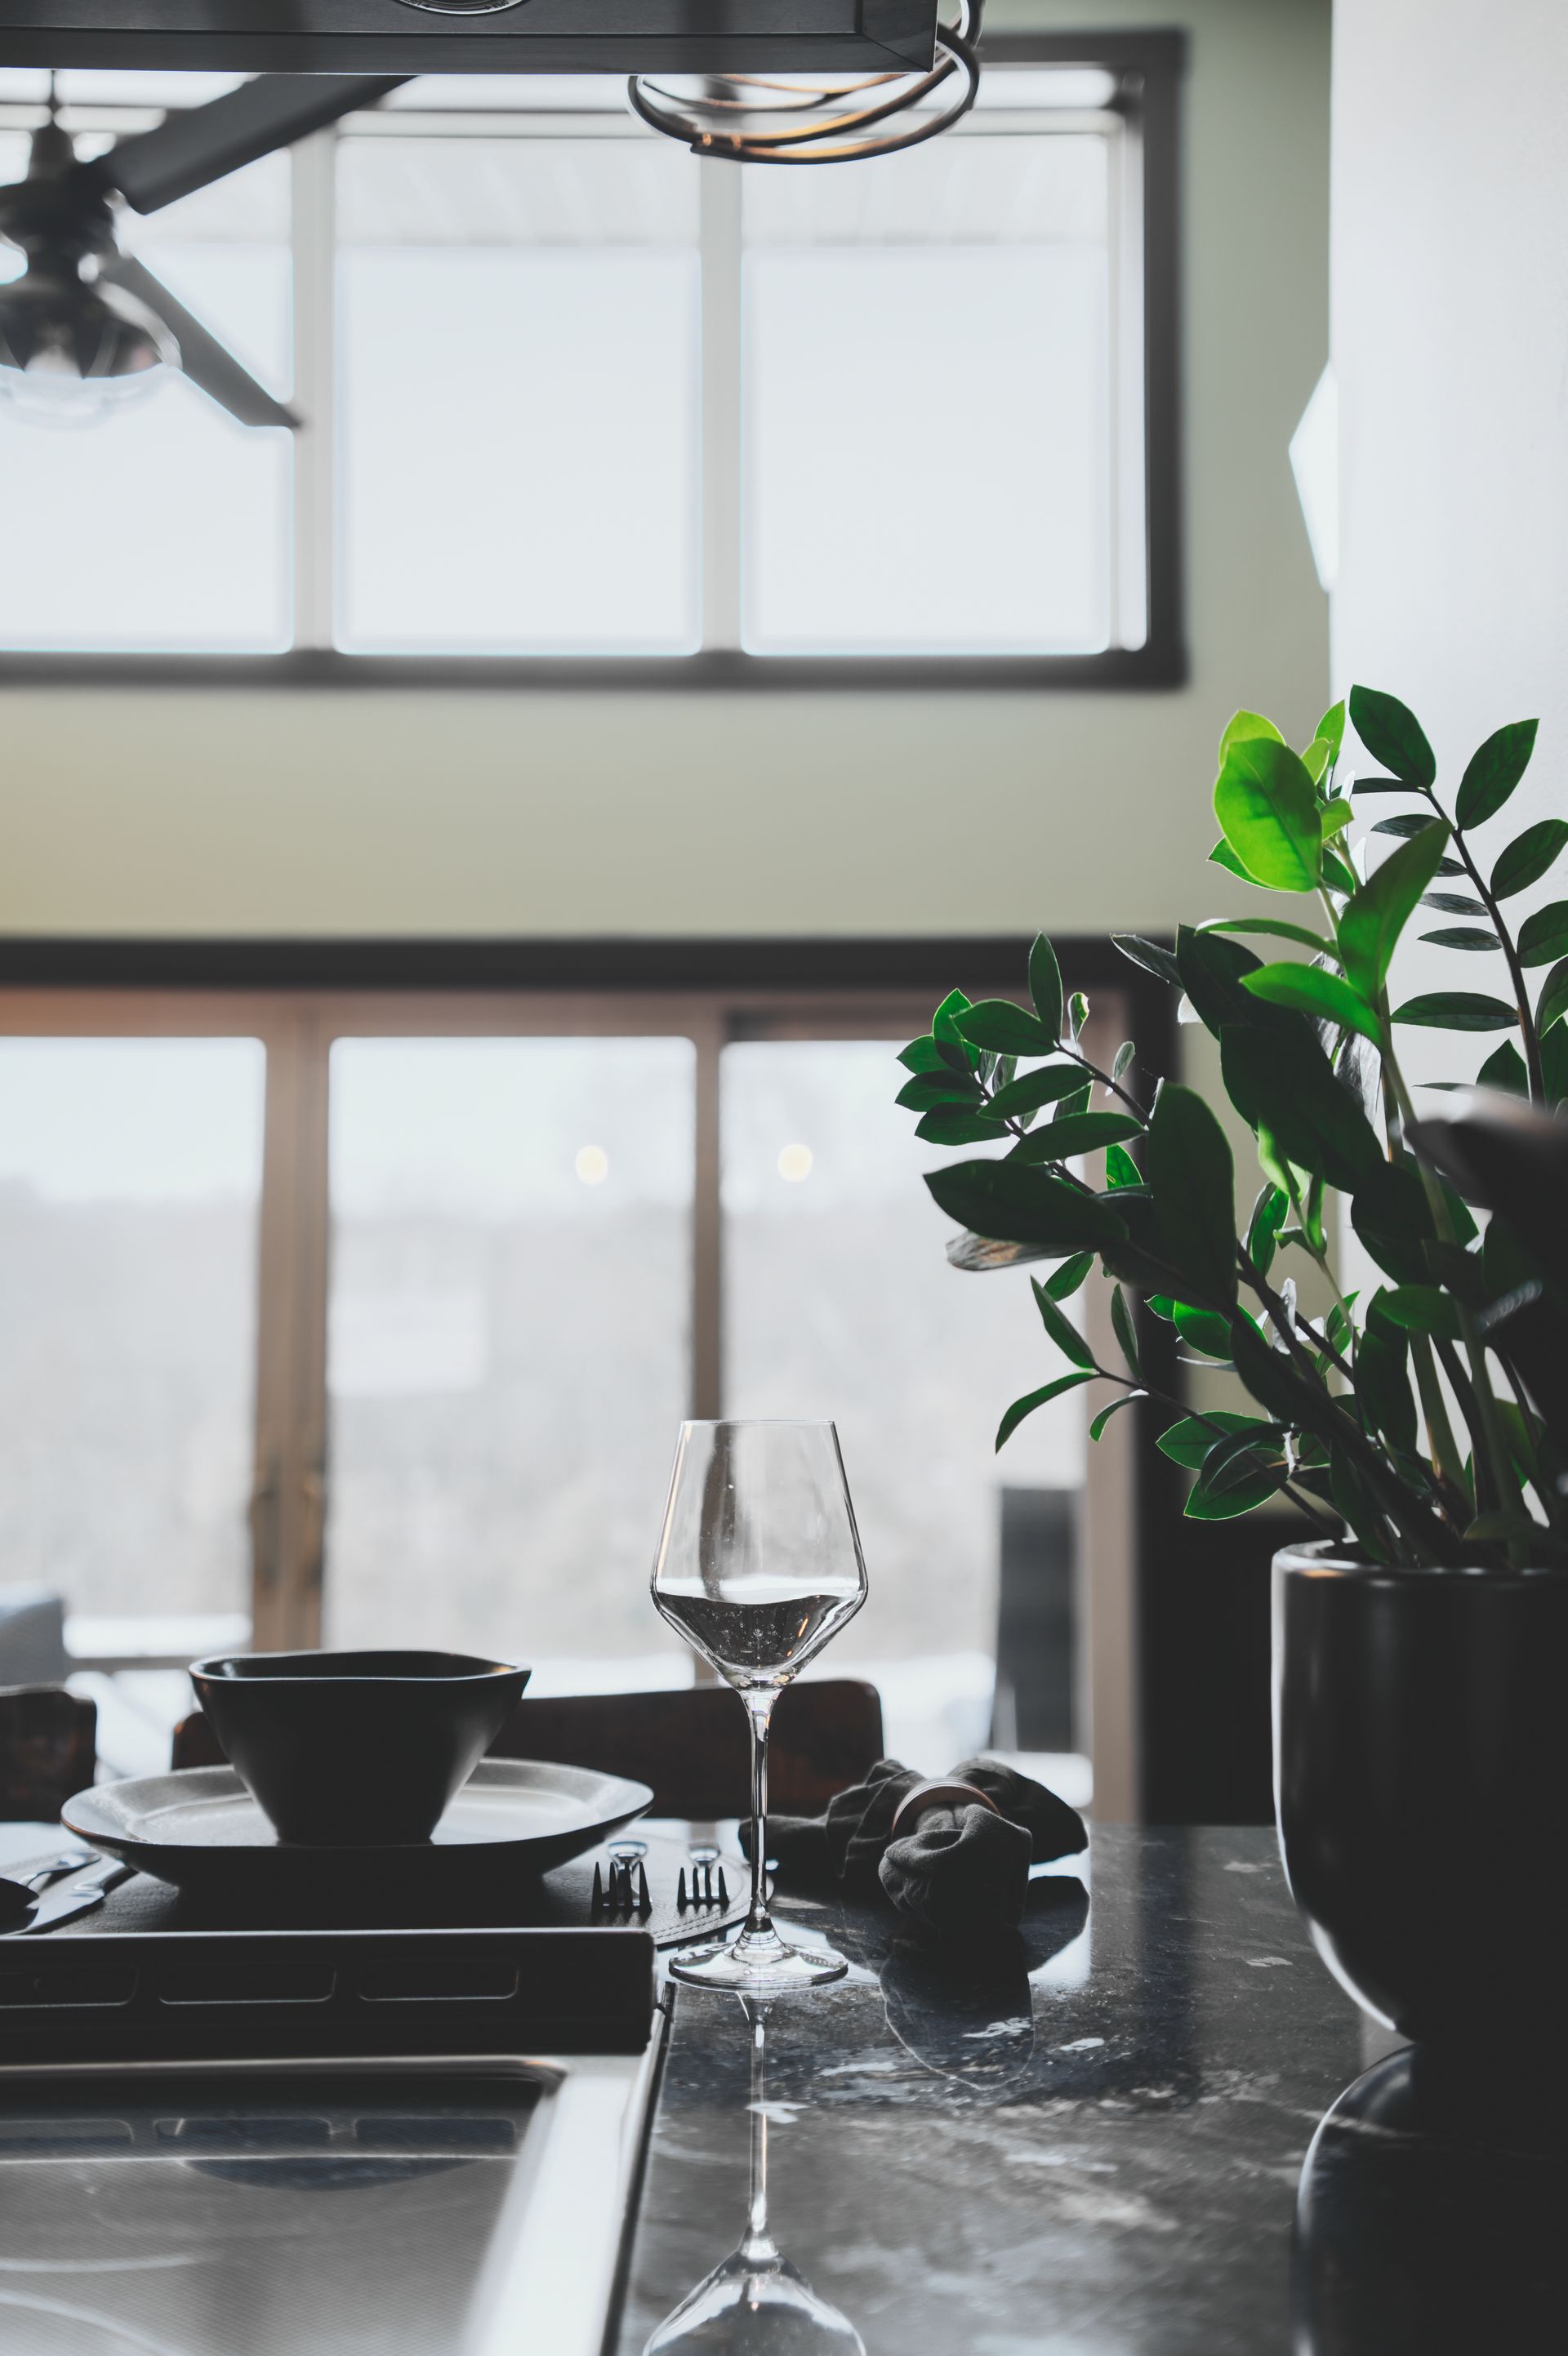
Natural light techniques
Sunlight remains the most powerful tool for creating authentic real estate compositions. The optimal time for exterior photography typically falls between 10:00 AM and 2:00 PM for north-facing properties. Correspondingly, south-facing homes photograph best during early morning or late evening hours, whereas west-facing properties shine in afternoon light.
For interior shots, consider these proven approaches:
- Open all window coverings to maximize incoming daylight
- Use net curtains to soften harsh contrasts near windows
- Turn off interior lights to avoid conflicting color temperatures
Notably, shooting during golden hours - shortly after sunrise or before sunset - creates warm, inviting atmospheres that daytime photos cannot replicate. This magical period casts soft, diffused light that enhances architectural details and creates depth through natural shadows.
When to use artificial lighting
Even though natural light offers authenticity, certain situations demand artificial illumination to achieve balanced compositions. Consider implementing artificial lighting under these circumstances:
Single Flash Techniques: A single flash unit, mounted on the camera's hot shoe, provides quick solutions for smaller spaces. By bouncing the flash off walls or ceilings, photographers can create soft, even illumination that mimics natural light.
Multiple Flash Setups: Larger spaces often require two to four flash units to balance strong external window light effectively. This approach enables photographers to:
- Control interior lighting precisely
- Balance bright windows with interior spaces
- Create consistent exposure throughout rooms
For optimal results in mixed lighting scenarios, maintain consistent color temperatures across all light sources. Professional photographers often employ these artificial lighting strategies:
- Bounce Flash: Direct the flash toward walls or ceilings to create soft, diffused light that complements existing natural illumination
- Strobe Lights: Utilize larger, more powerful lights with modifiers for expansive spaces requiring additional illumination
- Continuous LED Lighting: Implement adjustable color temperature fixtures ranging from 2700K to 6500K for real-time lighting adjustments
Fundamentally, the choice between natural and artificial light depends on various factors including room size, window placement, and time constraints. Through careful consideration of these elements, photographers can craft compositions that showcase properties in their most favorable light while maintaining authenticity and appeal.
Common Composition Mistakes to Avoid
Avoiding composition mistakes stands as the cornerstone of professional real estate photography. Based on analysis of thousands of property listings, certain errors consistently diminish the impact of otherwise promising shots.
Poor angle choices
Improper camera angles rank among the most frequent composition missteps in real estate photography. Shooting from head height or crouching positions often results in photos pointing toward ceilings or floors, creating unnatural perspectives. Instead, position the camera at approximately 120cm (waist height) or align with countertop lines for balanced compositions.
One critical error involves tilted vertical lines, which make walls appear to lean inward or outward. This distortion occurs primarily through:
- Incorrect camera height relative to the subject
- Poor tripod alignment
- Hasty shooting without checking vertical alignment
Professional photographers maintain straight vertical lines by using tripods with built-in levels and carefully checking alignment before capturing each shot.
Incorrect room framing
Room framing mistakes can drastically reduce a property's perceived value. Shooting ultra-wide without purpose makes rooms look unrealistic and distorted. Likewise, failing to capture three walls in kitchen shots or using improper two-point perspectives diminishes spatial understanding.
To achieve optimal framing:
- Position yourself between two walls to avoid tunnel effects
- Back up slightly and zoom in to reduce distortion
- Ensure horizontal lines remain parallel to frame edges
- Maintain consistent height across similar room types
Essential framing considerations: Chest-height camera positioning creates natural perspectives that enhance ceiling height perception. Additionally, avoiding fisheye lenses prevents unnatural distortions that can misrepresent room dimensions.
Distracting elements
Distracting elements in compositions often stem from inadequate preparation or rushed shooting schedules. Common offenders include visible cords, open cabinet doors, and unmade beds. Furthermore, reflective surfaces like mirrors and appliances frequently capture unwanted tripod reflections or photographer silhouettes.
Professional photographers systematically eliminate these distractions by:
- Removing personal items and clutter
- Closing toilet lids and cabinet doors
- Organizing or removing visible cables
- Checking reflective surfaces for unwanted captures
Notably, even minor distractions such as misaligned window handles or partially rolled toilet paper can diminish photo quality. Successful real estate photographers maintain detailed pre-shoot checklists to ensure these elements receive proper attention.
Beyond physical distractions, compositional elements like excessive empty space or poorly balanced furniture arrangements can draw attention away from a room's best features. Strategic staging and thoughtful furniture placement help guide viewers' eyes through the space naturally.
Conclusion
Real estate photography demands precision, technical expertise, and careful attention to composition rules. Through my experience managing hundreds of property shoots, I've learned that mastering these elements creates listings that truly connect with potential buyers.
Professional real estate photography starts with proper camera setup and settings. Room-specific techniques enhance property presentation, while strategic lighting transforms ordinary spaces into compelling visual stories. Understanding and avoiding common composition mistakes ensures consistently high-quality results.
Most importantly, real estate photography requires a balanced approach between technical excellence and artistic vision. Each property presents unique challenges, yet following these proven composition guidelines helps create images that showcase spaces effectively.
Success in real estate photography comes from combining technical knowledge with practical experience. These composition techniques, when applied correctly, help create images that not only document properties but also tell their unique stories. Remember, great real estate photography doesn't just show a house - it helps potential buyers envision their future home.
FAQs
Q1. What are the key differences between real estate photography and regular photography?
Real estate photography focuses on documenting spaces accurately, using wide-angle shots to capture comprehensive views. It typically requires a quicker turnaround time, with shoots lasting 1-2 hours. The goal is to give potential buyers a clear understanding of the property's layout and features, rather than creating artistic interpretations.
Q2. How important is lighting in real estate photography?
Lighting is crucial in real estate photography. Natural light is often preferred, with optimal shooting times varying based on the property's orientation. However, artificial lighting techniques, such as using flash units or LED lights, can be necessary to balance strong external light or illuminate larger spaces effectively.
Q3. What are some common composition mistakes to avoid in real estate photography?
Common mistakes include poor angle choices (like shooting from head height), incorrect room framing (such as using ultra-wide angles without purpose), and leaving distracting elements in the frame (like visible cords or personal items). It's also important to maintain straight vertical lines and avoid distorting room dimensions.
Q4. What camera settings are recommended for real estate photography?
For optimal results, use an aperture between f/6 and f/11 for sharpness and depth of field. Keep ISO settings between 200-400 to minimize digital noise. Use Aperture Priority mode and set the camera to RAW format for maximum post-processing flexibility. A focal length between 16-35mm on full-frame cameras is typically ideal for interior shots.
Q5. How can I improve my real estate photography skills?
To improve your skills, practice regularly using a shot list, ensure properties are clean before shooting, work with a good home stager, choose optimal shooting times, use a tripod, select appropriate lenses, and utilize ambient light when possible. Additionally, familiarize yourself with composition rules like the rule of thirds and learn to balance elements within the frame effectively.


Awards


CONTACT INFO
KODJOARTS VIDEOGRAPHY & PHOTOGRAPHY
6605 Longshore St, Suite 240, Dublin, OH 43017